I’ve mentioned using PDF stamps for proofreading and index editing before. While you can import proofreading stamp sets — here’s an old post about that — I like to make my own, especially for editing my indexes. Indexers who mark up page proofs prior to entering terms in their indexing software may also find it useful to create custom stamp sets.
I use iAnnotate on an ancient iPad. It costs 10 bucks, works on an iPad or iPhone, and you can use it with teams. It works like a lot of pdf apps, syncing with file-sharing services like Dropbox, and dealing with various kinds of markup and exporting both files with editable annotations and flattened (not editable) files. My favorite feature is the ability to create custom stamps.
I’ve broken this process down into a lot of steps to make it clear, but it’s a very simple thing to do. You draw what you want, tap and hold to bring up a menu, then save as a stamp. Easy peasy.
Step 1: Use the pen tool to draw your annotation.
Here, it’s the X with a circle around it.

Step 2: Add the annotation as a stamp.
Select the stamp icon — the little chess piece circled in pink below. Tap and hold your finger on the annotation to bring up the menu, if it’s not already visible. Note: Here’s where you also choose the color. Once you’ve created the stamp, you can’t change the color.

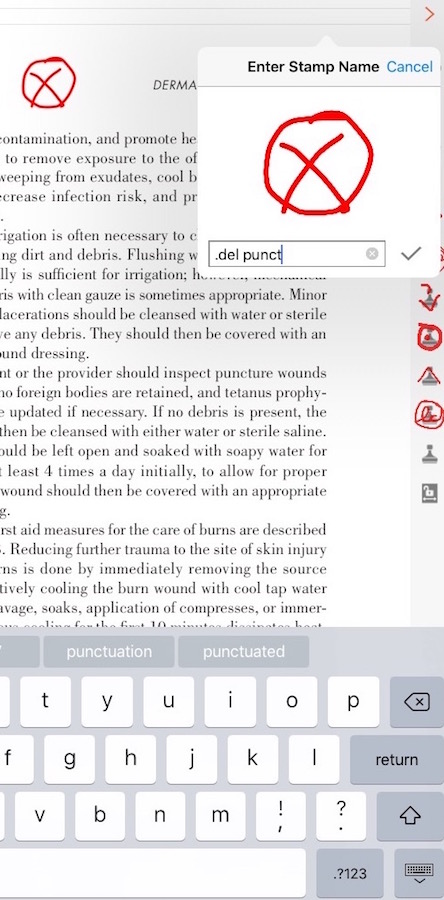
Step 3: Name your stamp.
This box will pop up automatically. I always precede the stamp name with a period to ensure it shows up at the top of my stamp list when I am looking for it.
Step 4: Delete the annotation.
Only if you don’t need it, of course. You can make your annotation set two ways — either by drawing all your needed stamps in the margin at the beginning and adding them all at once, or by adding them as you make them. In the second case, you probably wouldn’t want to delete it.
To delete, tap and hold the annotation to bring up the menu and select the trash can icon.

Step 5: Create your custom toolbar.
Tap the toolbox icon to bring up the “add tools” menu. This is my index-editing toolbar — I have a separate one for proofreading. To add an entire toolbar, you’ll tap the plus sign that you can see at the top of the image in Step 6.

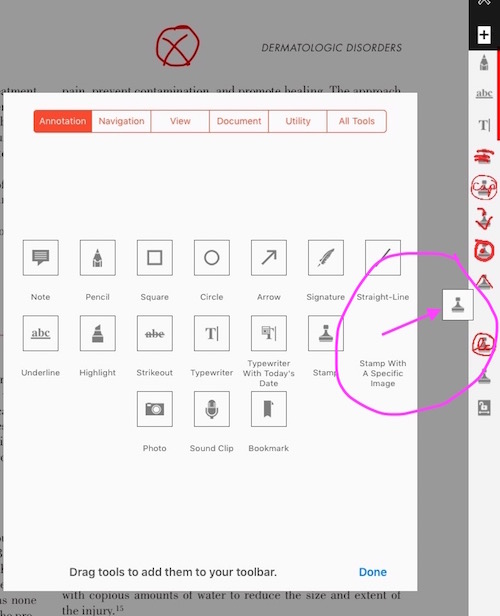
Step 6: Drag the “Stamp With A Specific Image” tool onto the toolbar.
You can also add any other tools you use frequently, and remove tools from the toolbar by dragging them off. You can also rearrange them by dragging them up or down. Tap the plus sign at the top to add a whole new toolbar.
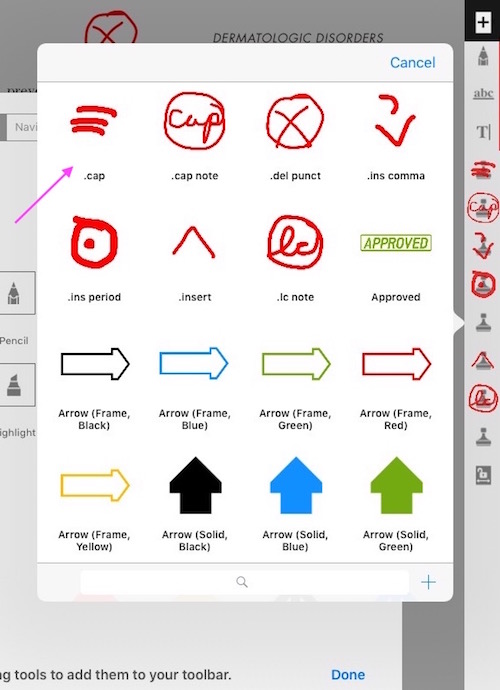
Step 7: Choose your stamp.
When you drag the “specific image” stamp tool onto the toolbar, this box pops up. Here’s where you select the actual specific image. You can see iAnnotate comes with a bunch of office-y “sign here” type stamps.
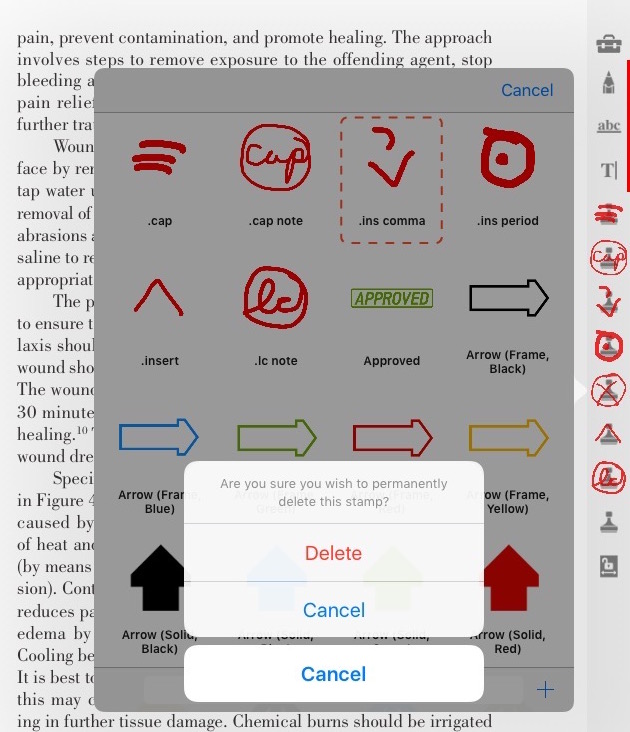
Step 8: Delete a stamp.
If you want to delete a stamp from your custom list, not just remove it from the toolbar, tap and hold until the delete message pops up.
You can do more with iAnnotate — create toolbars for specific stamp sets, for example. I have a proofreading toolbar and an index editing toolbar (you can see my index editing toolbar above, at step 5).
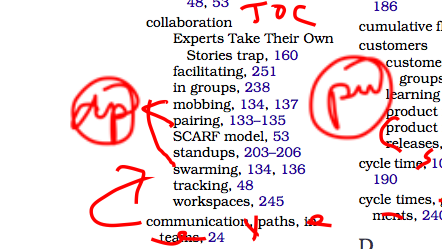
I usually save my index as a PDF and edit it on my iPad rather than printing and editing with pencil and paper. I made notations for “gather”, “pick up”, and “double-post” that I use while editing indexes. If you’re the kind of indexer who marks up hard copy first, then types up the index, you could create stamps for your go-to notations.


Leave a Reply